• Selection Area ◇ In the most basic form, Selection Area act as containers that isolate parts of an image for editing ◇ Each pixel has a value between 0 and 255 ▪ Fully selected: 255 ▪ Not selected: 0 ▪ Partially selected: 0 - 255 • Contour Line ◇ Solid lines that draws the boundary of a shape like ellipse ◇ Pixel value >= 128, inside contour line ◇ Pixel value < 128, outside contour line
• Marching Ants: dashed lines around the Contour Line. It tells you what area has been selected
~~~~~~~~~~~~~~~~~~~~~~~~~~~~~~~~~
Make a Selection
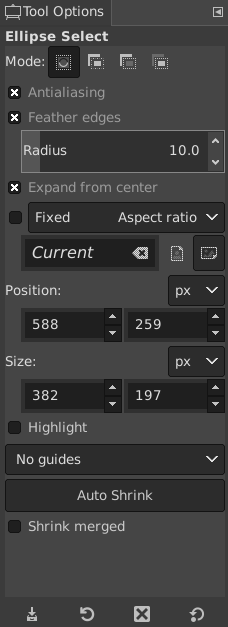
• You can make a selection / shape using the following methods ◇ Selection Tools ◇ Path Tools (enable you to draw curve) ◇ Text Tools ◇ Keyboard Shortcuts
~~~~~~~~~~~~~~~~~~~~~~~~~~~~~~~~~
Expand / Compress the Selection
• If you hover over the corners or sides of the Contour Line, a box / square will be shown. You can then drag along the box / squrare to expand or compress the shape
~~~~~~~~~~~~~~~~~~~~~~~~~~~~~~~~~
Move the Selection
• You can move the shape by dragging within the Marching Ants
~~~~~~~~~~~~~~~~~~~~~~~~~~~~~~~~~
Inverted Selection
• You can invert the selection using shortcut key ctrl-i or
# Inverted Selection Select > Invert
• The Marching Ants will be shown along the layer boundary • You can't expand / compress the shape, the original composition will be truncated
~~~~~~~~~~~~~~~~~~~~~~~~~~~~~~~~~
Fill Selection with Color / Pattern
• When an area is selected, you can fill that area with the color you've selected using any Paint Tools like Bucket Fill Tool, Paint Brush etc. • You can also fill that area with a Pattern selected from the Pattern dockable dialog box (located at the lower right corner)
# Fill Selection with Color / Pattern Edit > Fill with FG Color Edit > Fill with BG Color Edit > Fill with Pattern
~~~~~~~~~~~~~~~~~~~~~~~~~~~~~~~~~
Remove Contents Inside a Selection
• You can remove the whatever is inside the selection area by hitting the shortcut key Delete (Edit > Clear) • If no Alpha Channel is set, the Background color will be shown on the deleted area
~~~~~~~~~~~~~~~~~~~~~~~~~~~~~~~~~
Filter and Image Adjustment
• You can add Filter or apply image adjustment inside a Selection Area • Use the Color and Filter pulldown menus
~~~~~~~~~~~~~~~~~~~~~~~~~~~~~~~~~
Create Selection Area with Text
• Apply Text Tool first • Right click the corresponding layer in Layer Panel and select Alpha to Selection • Text will be outlined by Marching Ants
~~~~~~~~~~~~~~~~~~~~~~~~~~~~~~~~~
Create Area of Partial Transparency
• Drag and drop one image to another image • Use the Unified Transform Tool to scale the image down in order to fit inside another image • Use Lasso Tool to outline, connect the ends and hit the Enter key • Now we have our Selection Area. You can use either of the below 2 methods to create partial transparency
1. Select Float Method
• Select > Float to put the Selection Area on its own floating selection layer or • Add the floating selection layer to its own layer • You can use the Opacity Slider to adjust the opacity of this layer. The Opacity Slider is located at the top of the Dockable Dialogs • You may want to add Alpha Channel on the image if the image is at the bottom of the layer
2. Add Layer Mask Method
• Less destructive than Select Float method as you can disabled it or delete the layer mask entirely to revert back to the original image • Right click the layer and select Add Layer Mask > Selection > Add
~~~~~~~~~~~~~~~~~~~~~~~~~~~~~~~~~
Adjust the Size of the Selection
• Select > Grow or Select > Shrink
~~~~~~~~~~~~~~~~~~~~~~~~~~~~~~~~~
Add Border around Selection Area
• Select all (ctrl-a) • Select > Border • Use the Bucket Fill Tool to fill the border with color
~~~~~~~~~~~~~~~~~~~~~~~~~~~~~~~~~
Selection Editor
• Select > Selection Editor to open the Selection Editor • Display in the Dockable Dialog to show you what is selected relative to the size of the composition • Selection Area is indicated by background color (default=white) • Options available at the bottom • If you click on the Selection Filter, it's going to be Select All